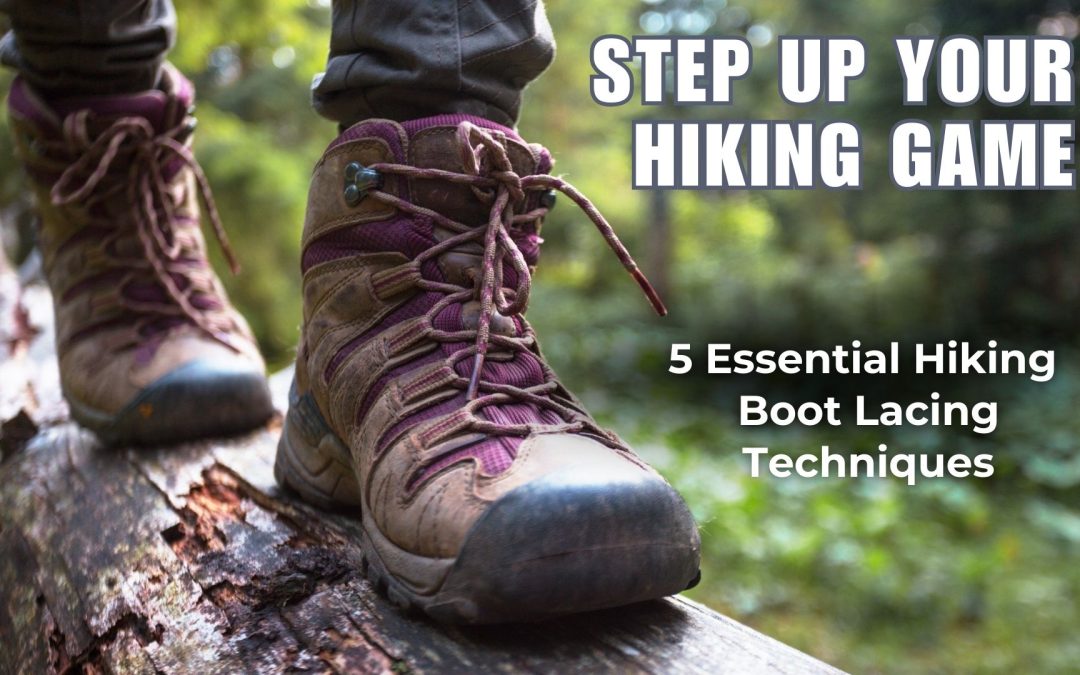
If you’re new to hiking, you might be surprised to learn that how you lace your hiking boots can make or break your comfort on the trail. Improperly laced boots can lead to discomfort, blisters, or even injuries. Learn these hiking boot lacing techniques to ensure your boots fit snugly and provide the support you need for every adventure.
Why Proper Lacing Matters
Properly laced boots ensure:
- Comfort: Prevent hot spots and blisters by reducing friction.
- Support: Provide stability for your ankles and arches.
- Fit: Adjust the snugness to accommodate swelling during longer hikes.
- Performance: Keep your feet secure, so you can focus on the trail, not your shoes.
The Basics: Getting the Right Fit
Before diving into hiking boot lacing techniques, ensure:
- Correct Boot Size: Your boots should have about a thumb’s width of space at the toes and a snug fit around the heel.
- Appropriate Socks: Choose moisture-wicking, hiking-specific socks for added comfort and reduced friction.
- Break Them In: Wear your boots around the house or on short walks before hitting the trail.
Essential Hiking Boot Lacing Techniques for Beginners
- The Basic Criss-Cross Lacing
This is the standard method:
- Thread the laces through the bottom eyelets.
- Cross them over and thread them through the next set of eyelets, repeating until the top.
- Tie a secure knot at the top.
Best for: Everyday hiking on flat or moderate terrain.
- Heel Lock Lacing
This technique secures your heel in place to prevent blisters:
- Follow the basic crisscross lacing until the second-to-last set of eyelets.
- Thread each lace vertically through the last eyelet on the same side to form a loop.
- Cross the laces and thread them through the opposite loops, then tie as usual.
Best for: Steep descents or trails with uneven terrain.
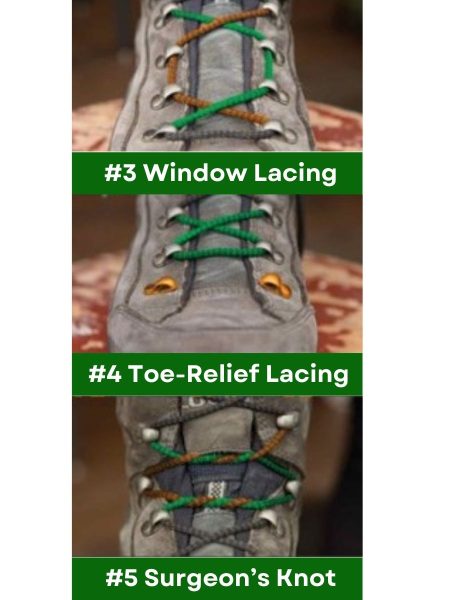
- Window Lacing
This relieves pressure on the top of your foot:
- Start with basic crisscross lacing.
- Skip the eyelets causing pressure and continue lacing above them.
Best for: Hikers experiencing tightness or discomfort on the top of their feet.
- Toe-Relief Lacing
Loosens the forefoot area:
- Lace normally but leave the bottom eyelets slightly looser.
- Tighten the laces as you move upward toward the ankle.
Best for: Long hikes where feet may swell.
- The Surgeon’s Knot
The surgeon’s knot adds extra security and helps keep tension in place:
- After threading the laces through a set of eyelets, wrap each lace around the other twice before pulling tight.
- Continue lacing as usual above the knot.
Best for: Securing tension at specific points, such as over the instep or ankle.
Pro Tips for New Hikers
- Adjust on the Trail: Your feet may swell or shift; don’t hesitate to stop and re-lace.
- Double Knot: Prevent your laces from coming undone mid-hike.
- Spare Laces: Always carry an extra pair in case of breaks.
- Experiment: Try different techniques on shorter hikes to find what works best for you.
Final Thoughts
Proper lacing is a small but crucial step in ensuring a comfortable and enjoyable hiking experience. Taking the time to learn hiking boot lacing methods can help you avoid common problems and keep your focus on the beauty of the trail ahead. Happy hiking!
For info about our trips and upcoming webinars Click here to view our Calendar